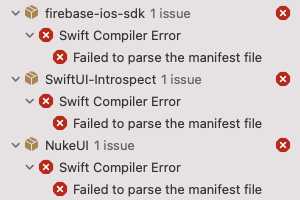
How to fix "Failed to parse the manifest file" errors on Xcode
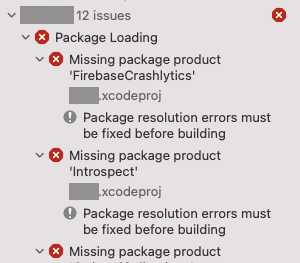
Sometimes I encounter ununderstandable Xcode build errors. It says “Failed to parse the manifest file”, “Missing package product ‘Xxxxxxxx’, Package resolution errors must be fixed before building”. I got this error, maybe once in a month in average. This error is hard to fix and time consuming.
How to fix “Failed to parse the manifest file” errors (definitive)
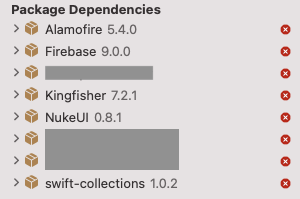
Remove all packages and re-adding again. This should fix all the package problems! But it changes project.pbxproj file. The good news is, after you get a stable build on Xcode, you can discard the project.pbxproj changes. You do not need to commit the file to Git or other VCSs.
How to fix “Failed to parse the manifest file” errors (obsoleted)
Aug. 13, 2022 updated: This section is obsoleted.
1. Close the project.
2. Quit Xcode.
3. Remove the contents of DerivedData folders and the Cache folder.
$ rm -rf ~/Library/Developer/Xcode/DerivedData/
$ rm -rf ~/Library/Caches/org.swift.swiftpm/
4. Run xcodebuild on the project folder.
$ xcodebuild -resolvePackageDependencies -project YourProject.xcodeproj -scheme YourScheme -platform="iOS, name:'Any iOS Device'"

- You must change "YourProject" and "YourScheme" for your environment.
- "Any iOS Device" can be your real device names and your simulator names.

ex.
$ xcodebuild -resolvePackageDependencies -project Product1.xcodeproj -scheme Staging -platform="iOS, name:'iPhone X (14.5)'"
5. Open Xcode.
6. Open the project.
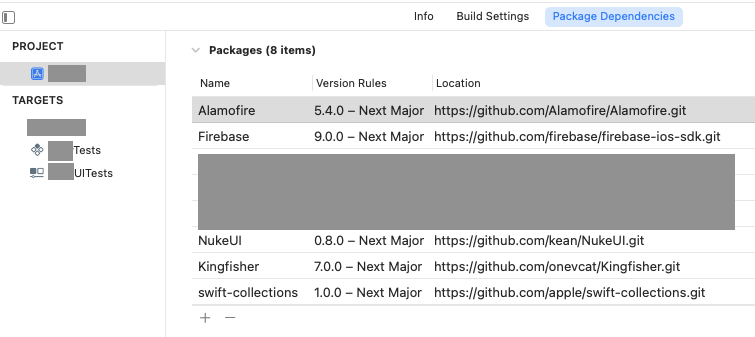
7. Last magic. Change package version rule. Small change would be fine. For example, changing minimum version requirement from 5.4.0 to 5.4.1, or changing to exact version number which is different from current package version.
References
- https://stackoverflow.com/questions/70581075/xcode-13-2-1-unable-to-resolve-swift-package-manager
Search values in Redis DB
Redis is a key-value store, so there’s no way to query values in Redis database efficiently.
One way is getting all keys by keys * and get values by get or mget one by one.
Another way, here I’ll describe in this post is, dumping all data to a file and converting it into JSON format, and find values using standard text edntir or grep or something like that.
Dump Redis data
If you use your own installation of Redis, you can get a dump file by save command. The backup
file is located on a directory which you can know by config get command.
$ reids-cli -h xxx.xxx.com
xxxxxx:6379> config get dir
1) "dir"
2) "/var/lib/redis/"
xxxxxx:6379> save
In my case, I use AWS ElastiCache. I dump the file using Backup operation and Copy it
to a S3 Bucket.
Redis Rdbtools
Redis Rdbtools parses Redis dump.rdb files and export data to JSON.
rdb --command json ~/Downloads/dump.rdb
Shows only HTTP headers using wget
$ wget --server-response -q -O /dev/null http://google.com
  HTTP/1.1 301 Moved Permanently
  Location: http://www.google.com/
  Content-Type: text/html; charset=UTF-8
  Date: Thu, 14 Apr 2022 12:32:15 GMT
  Expires: Sat, 14 May 2022 12:32:15 GMT
  Cache-Control: public, max-age=2592000
  Server: gws
  Content-Length: 219
  X-XSS-Protection: 0
  X-Frame-Options: SAMEORIGIN
  HTTP/1.1 200 OK
  Date: Thu, 14 Apr 2022 12:32:15 GMT
  Expires: -1
  Cache-Control: private, max-age=0
  Content-Type: text/html; charset=ISO-8859-1
  P3P: CP="This is not a P3P policy! See g.co/p3phelp for more info."
  Server: gws
  X-XSS-Protection: 0
  X-Frame-Options: SAMEORIGIN
  Set-Cookie: 1P_JAR=2022-04-14-12; expires=Sat, 14-May-2022 12:32:15 GMT; path=/; domain=.google.com; Secure
  Set-Cookie: AEC=AVQQ_LCpx-4W71lh8_3ECluG4NGgHifEQOKmzq1HUoxOXzVhMI2_1kJUZH8; expires=Tue, 11-Oct-2022 12:32:15 GMT; path=/; domain=.google.com; Secure; HttpOnly; SameSite=lax
  Set-Cookie: NID=511=bjcmwzEIZBBzgndiP7ba_4mZ_oxbOCCNfMT5UIvnAi7Cf17x_qq_wprw5wD-l8A_M2-qYem_tYS_E86Crg710qdOJQnWoJvUow2d1ljItFVS8zFD045noq6yvGOoA7cGEc4j-gJ9UFr5sU8JdmdCltwrPnpK4R5pumEXXLCjiGM; expires=Fri, 14-Oct-2022 12:32:15 GMT; path=/; domain=.google.com; HttpOnly
  Accept-Ranges: none
  Vary: Accept-Encoding
  Transfer-Encoding: chunked
SwiftUI の @State と @Binding
iOS 登場時からの UIライブラリである UIKit とは異なり、2019年に発表された SwiftUI は宣言的に UI を記述できる。ユーザ操作やネットワークからのデータ受信などの各種イベントに起因してデータが変更されると、UI に自動で反映される。データを UI に反映させるロジックを書かなくても良いその仕組みは、どのように実現されているのだろうか。
View の構造とアプリケーションの状態
SwiftUI の View は Viewプロトコルを実装した struct として表現されている。この View struct は、内部に他の View struct を複数包含することができる。複雑な図形を表現するときによく使われる Composite Pattern になっているといえる。
.svg#/media/File:Composite_UML_class_diagram_(fixed).svg)
By Composite_UML_class_diagram.svg: Trashtoy derivative work: Aaron Rotenberg , Public Domain, Link
Ethernet の Collision Detection の仕組み
Ethernet とは
Ethernet(イーサネット)は、有線コンピュータネットワークで最も使われている通信規格である。今は LAN の末端での端末の接続には Wi-Fi が使われることが多いが、2010年ころまでは、家庭や職場で PC の接続に使われていたのは 100BASE-T の Ethernet が主流だったと記憶している。
同軸ケーブル
10BASE-T や 100BASE-T といった Twisted Pair ケーブルを用いた規格が普及する前は、Ethernet は同軸ケーブルを用いる 10BASE5 や 10BASE2 が主流だった。有線で通信するには最低2本の導線が必要だが、その 2本をバウムクーヘンのように同じ中心軸を共有した 2つの導線で実現したものが同軸ケーブルである。中心の導線を絶縁体でくるんで、さらにそれを中空の導線で取り囲む。通常、中空の導線には網線が使われる。